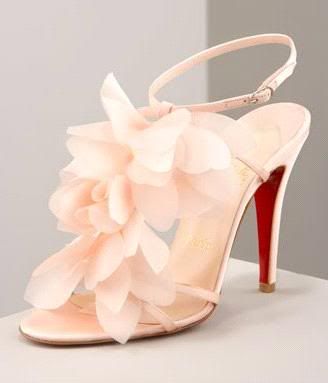
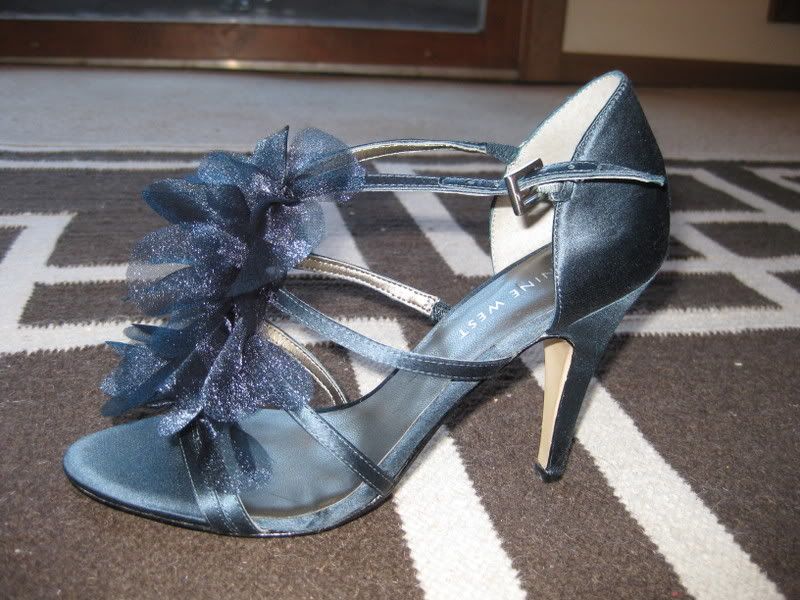
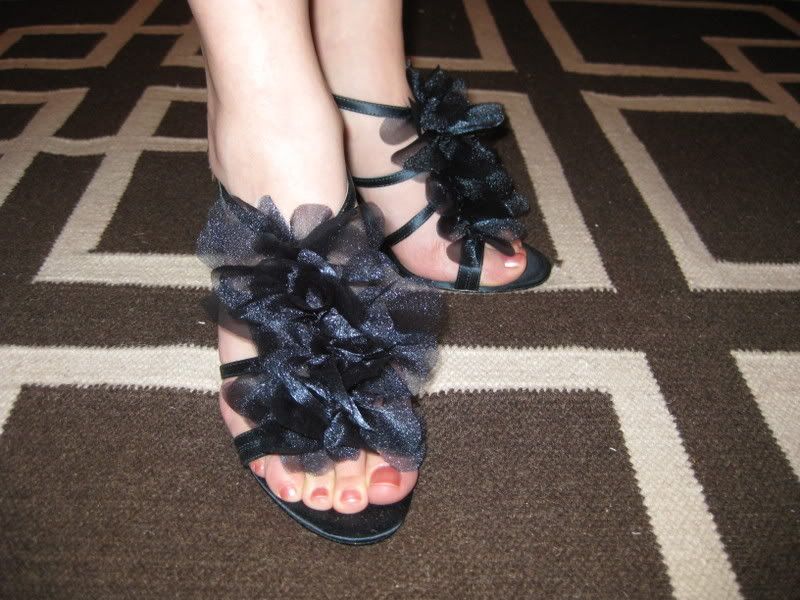
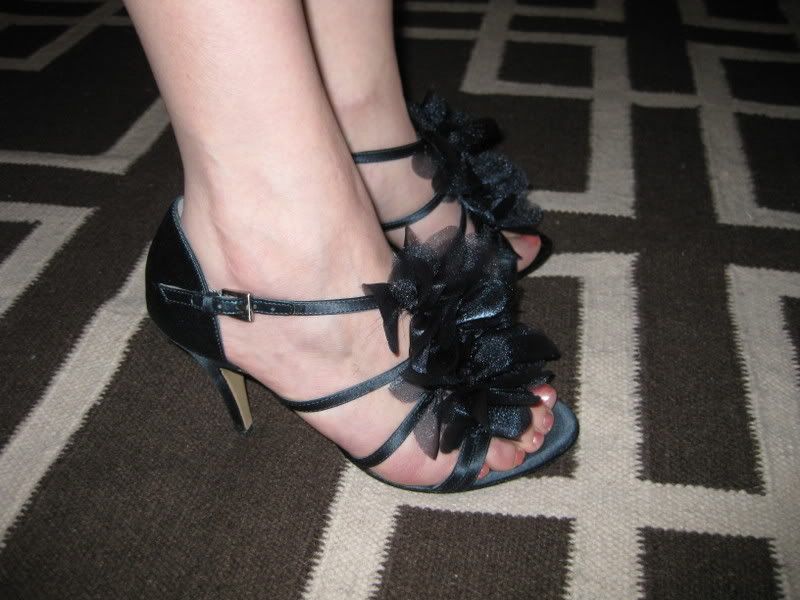
As far as unrequited love goes, few situations sting as much as knowing a pair lusty-worthy shoes will never find their way into my closet. The starring role in my most illicit shoe fantasies is Christian Louboutin's petal heels. The soft cascading satin petals set my heart afire.

However, I can't afford to spend $1,000 on a pair of shoes. I have more important things to spend my money on - like rent and groceries.
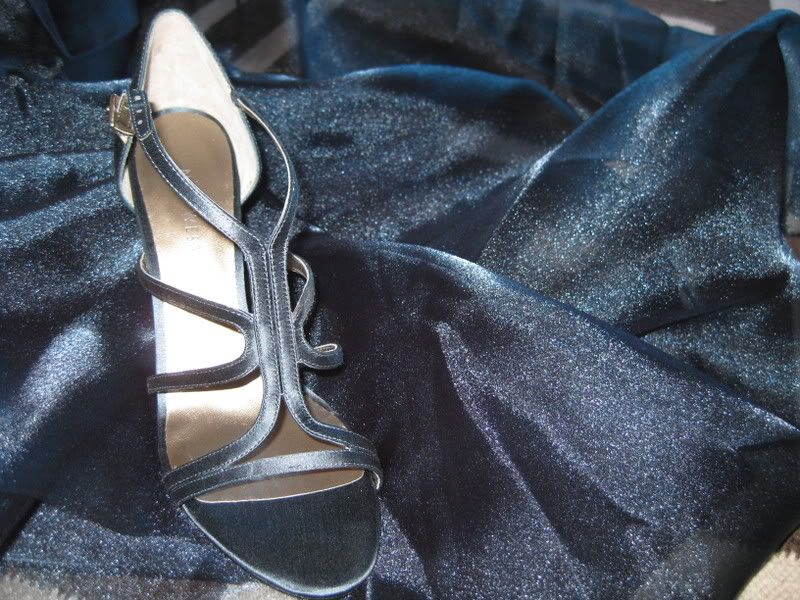
This didn't stop me. It just forced me to be more creative in fulfilling my fantasy. Earlier this year (okay in February; this post is awfully late), I marched off to DSW to scour the sale section for a pair of satin "special occasion" t-strap pumps. Done. Then off to the fabric store for a yard of matching chiffon.

I didn't take photos of the steps, but here's a quick recap:
- Fold the fabric in half.
- Cut petal shapes on the fold. This will give you dual-sided petals.
- Tie the petals onto the straps of the shoes.
- Voila!


The best part? When a petal looks wilted, snip it off and tie on a new one.
And, well, this version was $970 cheaper than the inspiration pair.

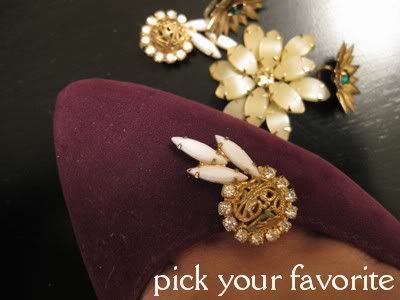
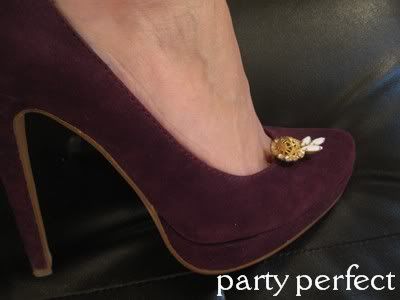
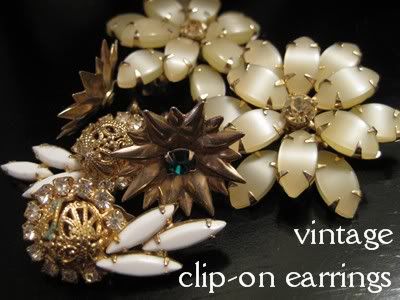 I don't know how our grandmothers did it; clip-on earrings hurt! But if you're a vintage jewelry aficionado like myself, you've also amassed a sizable collection. And it hasn't been by choice. A handful accompanies nearly every jewelry win at an estate auction and antique stores insist that you can't break up a matching set ... even if it's just the bracelet you fell in love with. Since those baubles aren't going anywhere near my earlobes, I'm using them to adorn my New Year's Eve heels.